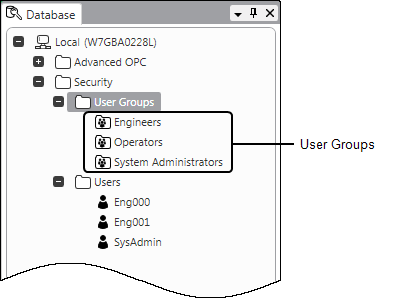
User Groups are database items that represent a collection of user accounts. They are designed to make it easier to allocate security permissions to multiple user accounts.
Typically, you create a User Group to represent a group of users. By granting security permissions to the User Group, you can reduce the need to configure security permissions for individual user accounts.

You can manage User Groups directly in ClearSCADA, or you can manage them remotely by associating them with Microsoft Windows or LDAP (Lightweight Directory Access Protocol) user groups. Either way, you need to create the User Groups you require directly in ClearSCADA.
When you first install ClearSCADA, the only User Group that exists is the built-in ‘Everyone’ User Group, which by default is inactive and does not have any permissions.
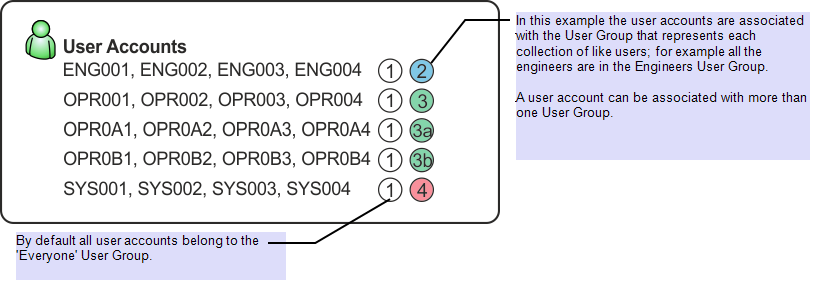
When you associate a User account with a User Group, that user becomes a 'member' of the User Group. A user can be a member of more than one User Group. This can aid management of security permissions as you can configure different User Groups to provide access to different collections of security permissions. By adding or removing a user's membership of different User Groups, you can allocate or remove that user's access to the collections of security permissions to which those particular User Groups provide access.
When a user logs on via a user account that is a 'member' of a User Group, that user is granted:
- The permissions of the ‘Everyone’ User Group
- The permissions of the user account
- The permissions of the User Group(s) of which the user account is a member
- 'Responsibility' for any geographical regions that are assigned to the user account
- 'Responsibility' for any geographical regions that are assigned to the User Group(s) of which the user account is a member
- Access to any Operator Document Stores that are associated with the user account
- Access to any Operator Document Stores that are associated with the User Group(s) of which the user account is a member.
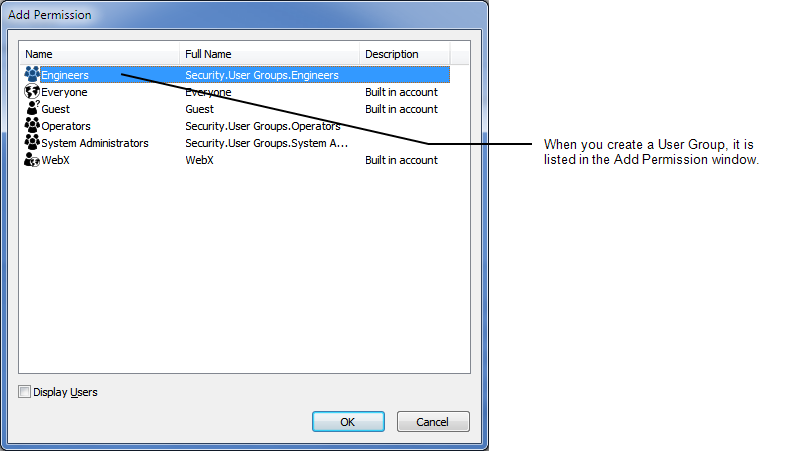
User Groups are automatically listed in the Add Permission window in addition to Built-In User Accounts and Built-In User Groups. (The Add Permission window is available from the Security window when you provide user access to a Group of database items in ClearSCADA.)

Example:
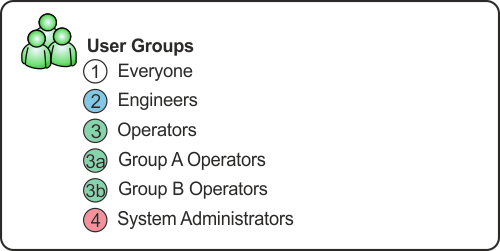
You have a team of users that includes 4 engineers, 4 general operators, 4 operators for zone A, 4 operators for zone B and 4 System Administrators. Each group of users all need the same permissions for different parts of the database. Rather than configure the permissions for each of the 20 user accounts individually, you could create User Groups for each user type.

You could then associate each group of users with their User Group, and apply the permissions to the User Group rather than the individual user accounts.

Working this way, you could allocate the permissions in a single action - by allocating the permissions to the User Group. This is achieved without having to allocate the permissions to each individual user account (the 20 user accounts have their own permissions plus the permissions of their User Groups).
So, by creating a User Group and allocating permissions to it, you can make the permissions available to every user account that is associated with that User Group.
(You can enable the External Authentication feature in ClearSCADA. With this feature enabled, you can configure User Groups in ClearSCADA so that they are associated with Windows domain groups or LDAP user groups. As part of the external authentication process, the User Groups of which a user account is a member are updated whenever that user logs on to ClearSCADA, to align the user group membership with that of the corresponding Windows or LDAP user account. This enables membership of User Groups to be managed externally, outside of ClearSCADA.)
Further Information
Organize your Users and User Groups.
Allocating Permissions to a User Group or User Account.
Using External Authentication with ClearSCADA.
Integrate ClearSCADA User Accounts with Active Directory or LDAP User Accounts.
Associate a ClearSCADA User Group with a Windows Domain Group or LDAP User Group.