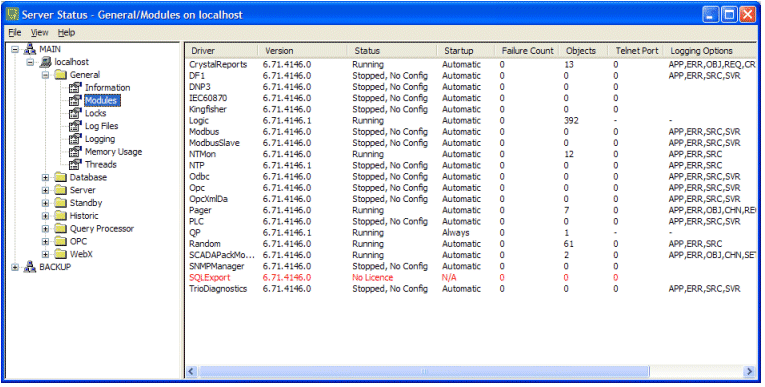
You can use the ClearSCADA Server Status Tool to start and stop a driver. This may be necessary when:
- Setting up driver logging—it may be necessary to stop and restart the driver for the logging settings to take effect (see Driver Settings).
- Upgrading or making alterations to a data source. Some drivers, such as the ODBC driver and the OPC driver, have a software connection to the data source, and this connection is locked once it is in place. It can be difficult to upgrade or make an alteration to a data source when a software connection is locked, and so you may need to stop a driver to release the software connection. When you have made the upgrade or alterations, you can restart the driver which then re-establishes the software connection.
To start, stop, or restart a driver:
- Run the ClearSCADA Server Status Tool (see Run the Server Status Tool in the ClearSCADA Guide to Server Status).
- Log on if required, and then expand the General branch, and select Modules.
-

- Right-click on the driver that you want to start, stop, or restart to display a context sensitive menu.
- Select the relevant option:
- Start—To start the driver. The driver will run and will re-establish its software connections.
- Stop—To stop the driver. The driver will stop running and will release its software connections.
- Restart—To stop the driver, and then start it again.
- Automatic—The driver will start automatically as long as there are items for that driver in the database (the driver’s Object entry has to be above 0). When the driver starts automatically, it runs and re-establishes its software connections without any user interaction.
- If the database does not contain any items for a driver that is set to autostart, the driver will be unable to start automatically (even if configured to do so). This is a precautionary measure to stop unused drivers from accessing system resources.
When you are familiar with the start, stop, and restart techniques, you can proceed to learn how to Alarm Limits.