Once you have an Action Roster on your system (see Display and Configure Properties on the Action Roster Form), you can add redirection actions to that roster.
By default, each Action Roster can have up to 10 redirection actions associated with it. However, you can adjust the maximum number of redirection actions on an individual roster basis (see Define a Different Action Roster Size).
Ensure that the redirection action(s) that you want to add to the roster exist on your system, or configure new redirection action(s) if required (see Configure a Redirection Action).
To edit the roster and add a redirection action:
- Display the Database Bar (see Display an Explorer Bar).
- Right-click on the Action Roster in the Database Bar.
A context-sensitive menu is displayed. - Select the Edit Action Roster option.
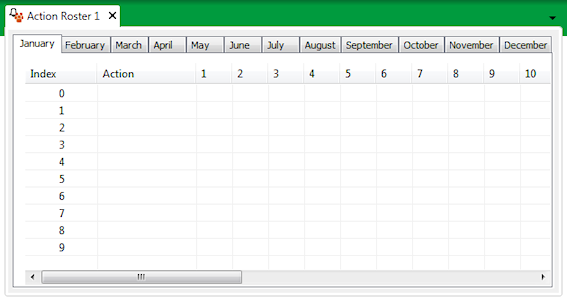
The Action Roster is displayed.
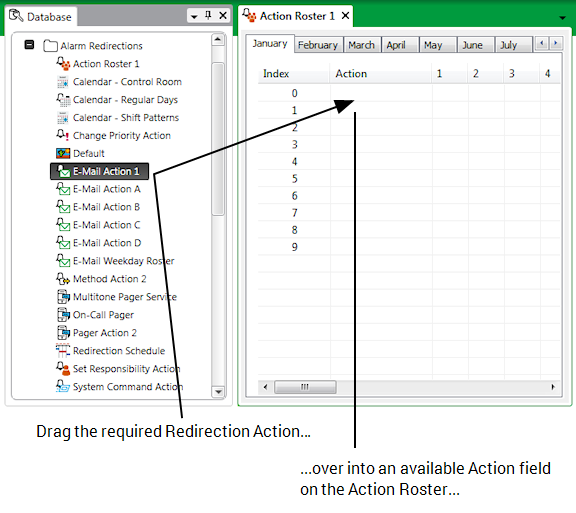
- In the Database Bar, select the redirection action that you want to add to the roster—do not release the mouse button.
- Drag the redirection action over to the next available Action field on the roster.

- Release the mouse button.
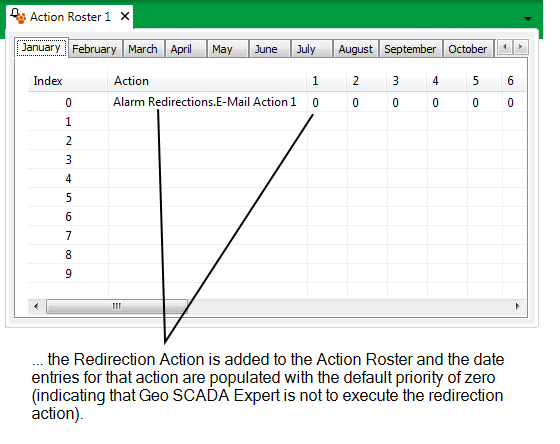
The redirection action is displayed on the roster. The date entries on the Roster calendar for that action are populated with the default priority of zero.
- Repeat Steps 4 to 6 for any other redirection actions that you want to add to the Action Roster.
When you have added the required redirection action(s) to the Action Roster, you need to Define the Priority of Each Action on the Roster.