The Repeat button feature is designed to allow users to perform an action repeatedly by holding down a button. When the button is pressed down, the action that is associated with the button is performed every second. As soon as the button is released, the action stops being performed. This is useful if you need users to send controls that change values in set increments.
To configure a button to use Repeat mode, see Editing a Button.
You can configure a pick action animation for a repeat button in the same way as you would configure a pick action animation for any other Mimic object (see Associating Mimic Objects with Pick Actions). The only difference with a repeat button is that any action that is associated with the button is repeated (every second by default) for as long as the button is pressed down.
The following example shows how repeat buttons can be used to change the value of a point by set increments:
Example:
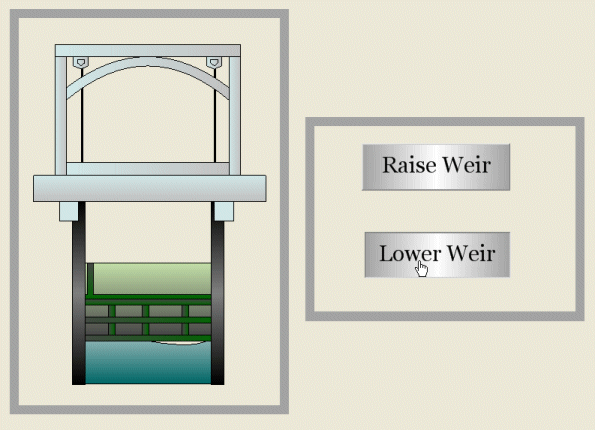
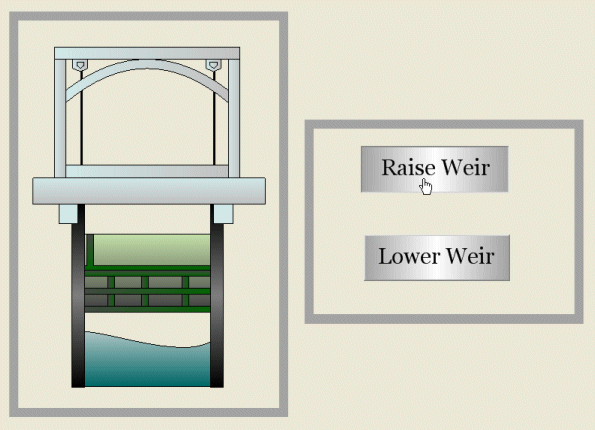
A Mimic contains a graphical representation of a weir that is used in the water industry. The weir is animated so that it is raised or lowered, depending on the value of an analog point (named ‘MDN River Level’).
The Mimic also contains 2 buttons, both of which are set to Repeat mode. One button is named ‘Raise Weir’ and the other is named ‘Lower Weir’.
When the ‘Lower Weir’ button is held down, 10 is deducted from the current value of the ‘MDN River Level’ point’s current value every second. This change in value is reflected in the position of the weir in the graphic.

When the ‘Raise Weir’ button is held down, 10 is added to the current value of the ‘MDN River Level’ point’s current value every second. This change in value is also reflected in the position of the weir in the graphic.

The configuration for the various Mimic objects and animations is as follows:
‘Weir’ Mimic object:
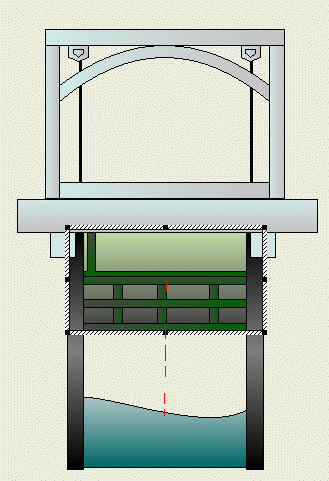
The ‘Weir’ Mimic object has a Dynamic Path animation that sets the moving part to move along a straight, downwards line:

The animations for the Dynamic Path are:
- Pos Anchor: 0. This sets the anchor point of the moving part to be the center.
- PosMax: 100. This sets the last position on the path to correspond to a value of 100.
- PosMin: 0. This sets the first position on the path to correspond to a value of 0.
- PosVal: ".MDN River Level.CurrentValue". This associates the position of the moving part with the current value of the ‘MDN River Level’ point.
‘Raise Weir’ button:
The ‘Raise Weir’ button is configured so that it is in Repeat mode. The Pick Action Wizard is used to associate the button with a database item, in this case, the ‘MDN River Level’ point. The settings that are put in place are:
- Type: Method
- Object: SCX:////CPointAlgManual/.MDN River Level
- Method: Hand Control
- Argument: ".MDN River Level.CurrentValue" -10
These settings mean that when the ‘Raise Weir’ button is held down, the value of the ‘MDN River Level’ point will decrease by 10 (every second by default). This will cause the moving part of the ‘weir’ object to move upwards as it has a dynamic path animation that is associated with the current value of the ‘MDN River Level’ point.
‘Lower Weir’ button:
The ‘Lower’ Weir button has the same configuration as the ‘Raise Weir’ button except that it uses the following argument:
- Argument: ".MDN River Level.CurrentValue" +10
This means that when the ‘Lower Weir’ button is pressed, the value of the ‘MDN River Level’ point increases by 10 (every second by default). This will cause the moving part of the ‘weir’ object to move downwards.