ATTENTION: This topic relates to the deprecated Original WebX client that is supported by this and previous versions of ClearSCADA. For information about the WebX client that is supported by ClearSCADA 2015 R1 onwards, for which the web server is hosted using IIS, click here.
You can use a WebX client to display Lists of database values.
To display Lists on a WebX client:
- Select the Lists button

on the navigation bar.
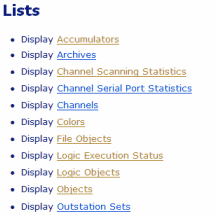
A hierarchical listing is displayed, indicating the various types of List that exist on your system.
- Select the required hyperlink entry in the Lists window.
The Filter Columns window is displayed. - Enter any filters you want to apply to the List (see Filter a List in the ClearSCADA Guide to Lists).
- Select the OK button.
The List window is displayed.
- Right-click on a row in the List.
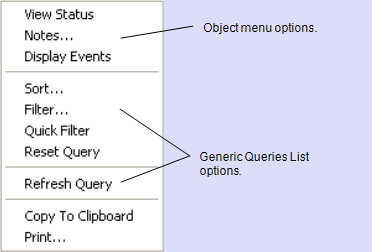
A context sensitive menu is displayed.Example:

Many of the options are identical to those that are available from a List on a ViewX client.
The Object menu options vary depending, for example, on the type of item, its configuration and current status (see Object Menu Options).
For information on the generic Queries List options, see Display and Use Lists in the ClearSCADA Guide to Lists.
These additional options are displayed when you access the menu on a WebX client:
- Copy to Clipboard—Copies the List’s content to your PC’s clipboard. You can then paste the content into any application, such as Microsoft® Excel, that supports pasting from the clipboard.
A dialog box is displayed should a List have a large number of rows. If this occurs, consider filtering the List’s content before pasting the filtered content to the clipboard.
- Print—Send the contents of the List window to a printer.
- Copy to Clipboard—Copies the List’s content to your PC’s clipboard. You can then paste the content into any application, such as Microsoft® Excel, that supports pasting from the clipboard.