The Main server has to be able to connect to each Permanent Standby server so that it can update their databases. To make this possible, you need to configure the Main server so that it can recognize the connection to the Permanent Standby server(s):
- On the server that starts as Main, access the Server Configuration Tool and log on via a User account with the System Admin permission (if log on is required).
- Access the System Configuration>Partners settings
- Select the Permanent Standby tab.
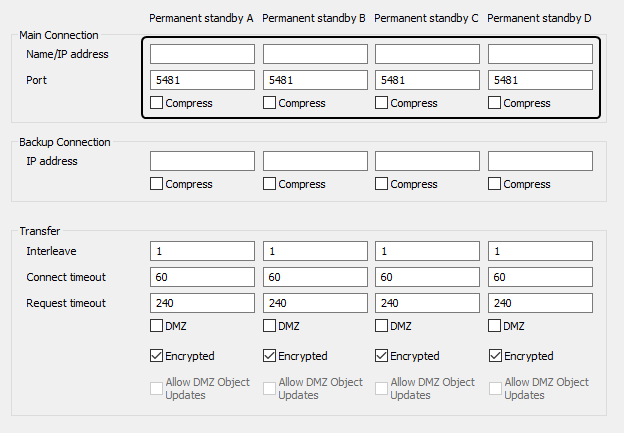
- In the Main Connection section on the Permanent Standby tab, define the primary connection between the Main server and the Permanent Standby server. To do this, you need to use the Name/IP Address, Port, and Compress settings. There are several columns of these settings and the column you need to use depends on whether the Permanent Standby server is the first, second, third or fourth Permanent Standby server you are adding to the system architecture:
 Hot-Standby systems
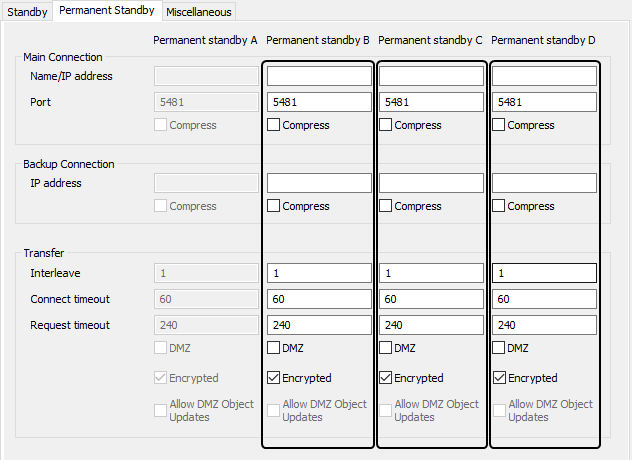
On Hot-Standby systems, we recommend you use the Permanent Standby A column of settings for the first Permanent Standby server you add, Permanent Standby B for the second Permanent Standby server, Permanent Standby C for the third, and Permanent Standby D for the fourth (you only need to configure the settings for the number of Permanent Standby servers you have)

 Triple Standby systems
On Triple Standby systems, we recommend you use the Permanent Standby B column of settings for the first Permanent Standby server you add, Permanent Standby C for the second Permanent Standby server, and Permanent Standby D for the third.

Define the primary connection between the Main server and Permanent Standby server as follows:
- In the Name/IP Address field, enter the name of the connection between the Main and Permanent Standby server or enter the IP address of the Permanent Standby server’s network card (the card that is used for the primary connection with the Main server).
- In the Port field, enter the address of port that the Permanent Standby server uses to connect with the Main server. This is the port on the Permanent Standby server and not the port on the Main server.
- Use the Compress check box to enable or disable compression on the primary connection between the Main server and the Permanent Standby server. For more information, see Define the Server Compression Settings.
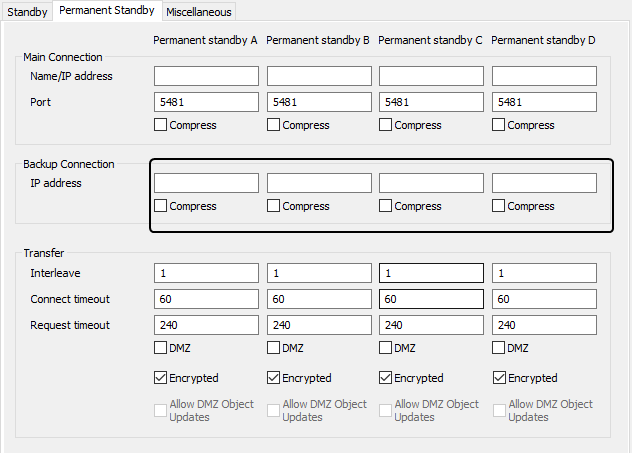
- In the Backup Connection section, use the settings to define the secondary connection between the Main server and the Permanent Standby server. Again, you need to use the relevant column of settings (Permanent Standby A for the first Permanent Standby server that you add, Permanent Standby B for the second and so on). You only need to configure the Backup Connection settings if dual ethernet connections are being used; leave the fields empty if there is only one connection between the Main and the Permanent Standby.
-

- To define the back up connection:
- In the IP Address field, enter the IP address of the Permanent Standby server’s network card (the card that is used for the secondary connection with the Main server).
- Use the Compress check box to enable or disable compression on the secondary connection between the Main server and the Permanent Standby server. For more information, see Define the Server Compression Settings.
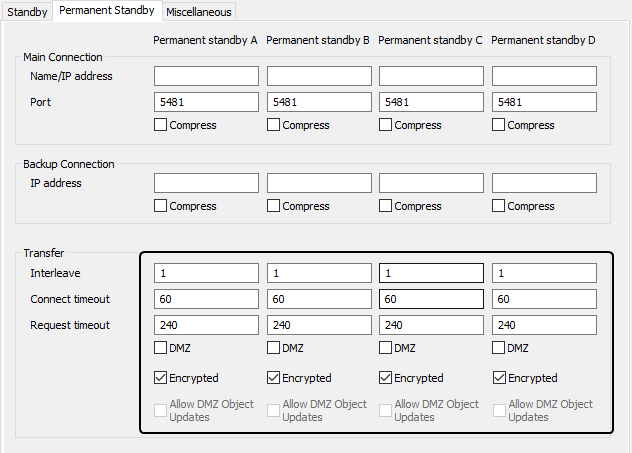
- Use the Transfer settings to define the Transfer Interval, Interweave, Connect Timeout and Request Timeout for the connection between the Main server and the Permanent Standby server(s). For more information on these settings, see Define the Transfer Interval and Transfer Timeouts.
-

- Restart the Main Server to apply the changes (see Restart the ClearSCADA Server).
Now that you have defined the connections from the Main server to the Permanent Standby server, you can proceed to Configure a Standby Server to Recognize a Permanent Standby Server.