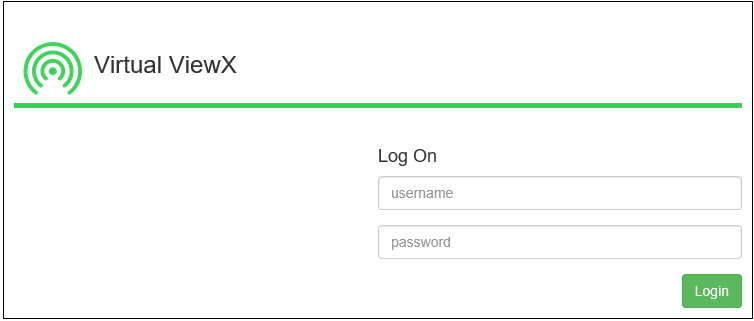
To run a Virtual ViewX client:
- Either:
- Select the Start button in Windows.

The Start menu is displayed.
- Scroll down the list of installed applications.
- Expand the relevant folder, if necessary, and then select the option for the web browser.
Or:
- Double-click on the desktop shortcut for the web browser.
A browser window is displayed.
- Select the Start button in Windows.
- Enter the address of the Virtual ViewX (the newer web server hosted using IIS) web server in the Address field, in one of these formats:
http://<name_of_server>:<port_number>/
https://<name_of_server>:<port_number>/
Where:
- <name_of_server> is the node name of your web server (you may also use its IP address)
- <port_number> is the port used by the server.
The default ports for Virtual ViewX are 85 for http and 453 for https. If your web server uses one of these defaults, you need to include the relevant port number in the path. (You can only omit the port number if the web server is configured to use the generic ports for its protocol (80 for http, and 443 for https), rather than the default or other port numbers.)
Use the 'https' address if your server uses secure http.
Your system administrator will be able to provide you with this information.
(Once you have established the required address, consider saving it as a Favorite in the Web browser.)If your server uses secure http and you specify the relevant https address:
- If your system is using a trusted certificate, go to step 3.
- If your system is using a non-trusted certificate, you may be presented with a warning in the browser window. This means that your system is using a weaker form of security.
The warning page allows you to close the web page (so you will not be able to use Virtual ViewX) or continue to the website. If you select continue to the website, you will be able to continue to the Virtual ViewX website, although your access may not be as secure as required.
- Press the Enter key.
The initial Virtual ViewX page is displayed.
Diagnostic messages appear briefly onscreen, displaying information about:
- The status of the Virtual ViewX client's connection to the web server
- The status of the Geo SCADA Expert server that is hosting the database.
To access Geo SCADA Expert via Virtual ViewX, you need to Log On to a Virtual ViewX Client.