If you want a calendar to run a different schedule on a specific type of day, such as a Public Holiday or during a period of Company Shutdown, you can configure a custom Day Type. By default, custom Day Types are labelled Day Type 1 to Day Type 6, but you can rename these Day Types to give them more meaningful names.
To rename a custom Day Type so that its name reflects the type of day that it is to represent:
- Display the Calendar Editor.
- Select the browse button adjacent to the Day Types field.
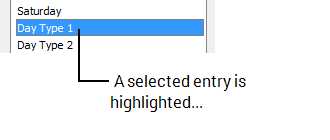
The Edit Day Schedule window is displayed. - Select the relevant Day Type 1 to Day Type 6 entry.
- Select the entry again.
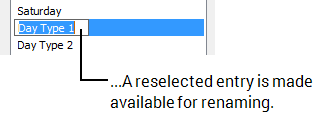
- Overtype the entry with a new name. You can use any combination of alphanumeric characters. The name can be up to a maximum of 31 characters long.
- Configure the schedule for that day type (see Define the Alarm Redirection Schedule for a Day).
- Select the OK button to confirm the settings.
The Edit Day Schedule window is closed and the name of the Day Type is changed in the Calendar Day Type Selector field. - Save the configuration (see Saving Configuration Changes in the ClearSCADA Guide to Core Configuration).
You can then Associate a Custom Day Type with a Calendar Date.
You may want to rename any unused custom Day Types to include the text ‘UNUSED’ and so avoid inadvertently adding any unconfigured custom Day Types to a Calendar.
For examples on using custom Day Types, see Examples of Calendar Configuration.