Associated with: Points on which the Override feature is supported and enabled
Use the Override pick action to temporarily override a point’s value. You might want to use this action, for example, to specify a suitable value if ClearSCADA has detected a known fault that is causing an incorrect value to be reported. Once the detected fault has been corrected, use the Release Override action to revert back to using the point’s actual value—the value that is being reported by the outstation or scanner.
The Override pick action is only available on a point on which:
- The Override feature is enabled (see the ClearSCADA Guide to Core Point Configuration).
- Your User Account is allocated the Override/Release security permission.
Most drivers support master station overrides, whereby you override the value at the server. Some drivers support outstation overrides—with such drivers, the driver-specific documentation explains any differences in functionality to that covered in this section.
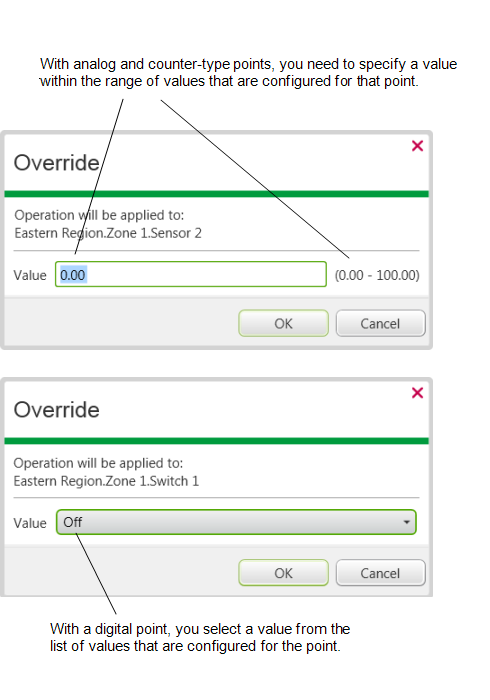
Select the Override pick action to display the Override window.
Specify the required override value in the Value field. Depending on the type of point, you may be offered a combo list of point values, or need to specify a value within a particular range. The range or values from which you can choose are determined by the point’s configuration.

Whenever a point is overridden:
- An entry is logged in the Event Journal.
- The point’s Override status attribute indicates that an override is in force.
- The point’s color on displays such as Queries Lists indicates whether the override is: