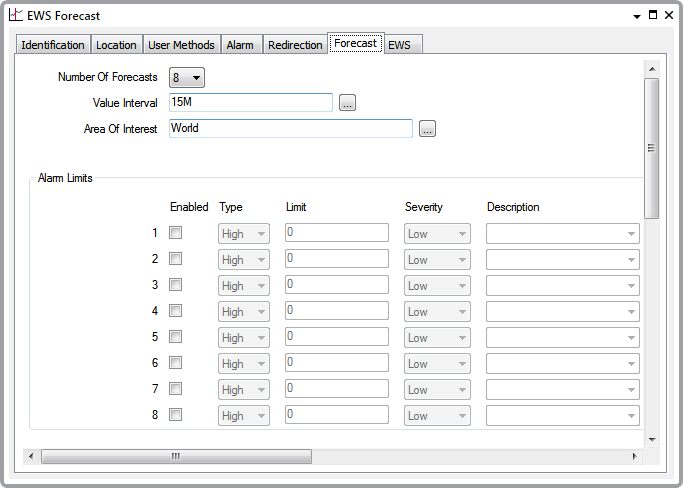
To configure the Forecast properties, you need to display the Forecast Form (see Display a Form).

The EWS Forecast Form has these tabs:
- Identification—Use to configure the Identification properties (see Defining Identification Details).
-
Location—Use to specify the item's geographical coordinates. (You need only configure the properties on this tab if your system uses ClearSCADA's Geographical Location features.)
- User Methods—Use to define any custom pick actions (‘methods’) for the Forecast (see Using the User Methods Tab to Define Custom Actions).
- Alarm—Use to define optional features associated with any Forecast alarms (see Defining an Item or Group’s Alarm Properties).
- Redirection—Use to define any alarm redirections for the Forecast (see Configure Alarm Redirections for an Item or Group in the ClearSCADA Guide to Alarm Redirection).
- Forecast—Use to:
- Specify the Maximum Number of Forecasts Held
- Specify the Time Interval Between Data Values
- Configure the Limits for a Forecast
- Define the Period of Forecast Data for which ClearSCADA can Generate Limit Alarms
- Define the Time Period for which ClearSCADA Imports Forecast Values
- Define the Appearance of a Forecast’s Values
- Define the Trend Properties.
If the Area of Interest feature is enabled on your system, an additional Area of Interest field is displayed toward the top of the Forecast tab. Use the field to specify the area with which any Forecast alarms or events are to be associated (see Assign a Different Area of Interest to an Item’s Alarms and Events).
For further information on the Area of Interest feature, see Restrict Alarm and Event Access to Specific Areas of Interest.
- EWS—Use to define the Advanced EWS Group and Point associated with the Forecast Item, (see Configure the Properties on EWS Tab).