If your User Account has the Can Resize Banner feature enabled, you can adjust the height of the Alarm Banner. The Alarm Banner can be set to a minimum height of two rows, or a maximum height of 21 rows.
If the Alarm Banner is currently docked at the bottom of the ViewX or WebX window (see Move the Alarm Banner), you use the top edge of the banner to adjust its height. If the Alarm Banner is docked at the top of the ViewX or WebX window, you use the bottom edge. In both cases, the movable edge of the banner is highlighted when the cursor is placed over it. Additionally, the cursor changes shape to indicate that you can drag the edge of the banner up or down the screen.
You can manually resize the Alarm Banner in ViewX and WebX. To do this:
- Place the cursor over the adjustable edge of the Alarm Banner. The cursor will change to a double-headed arrow, and the border will change color.

- Click and drag the border until the Alarm Banner is at the required height, then release the mouse button.
The Alarm Banner will display at the selected height.
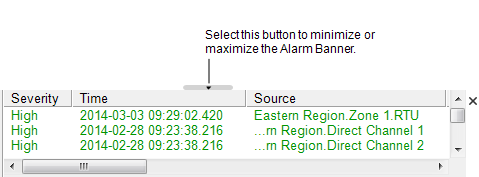
On a ViewX client, the adjustable edge of the Alarm Banner includes a button that allows you to minimize or maximize the banner.

When minimized, the Alarm Banner displays at the height specified by the Minimum Banner Rows setting associated with your User Account. When maximized, the banner returns to the height of your most recent manual adjustment.
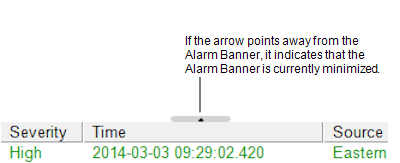
If the arrow on the button points away from the Alarm Banner, it indicates that the banner is currently minimized. Selecting the button will maximize the Alarm Banner.

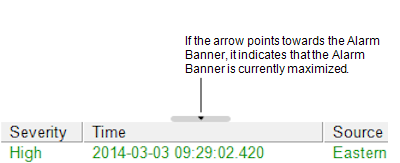
If the arrow points towards the Alarm Banner, it indicates that the banner is currently maximized. Selecting the button will minimize the Alarm Banner.

On a WebX client, the button is only displayed if your User Account has the Can Remove Banner feature enabled. You use the button to hide and display the Alarm Banner (see Remove the Alarm Banner).