Associated with: Direct or Shared outstations
The Promote Scanning pick action is only available on an outstation on which:
- Scanning promotion is supported and enabled (see Temporarily Increasing the Scan Rate in the ClearSCADA Guide to Advanced Drivers).
- Your User Account is allocated the Promote security permission.
Many direct outstations can automatically be given scanning preference whenever any of their points are displayed on a client (see Define Whether an Outstation is Promoted While its Points are on Display in the ClearSCADA Guide to Advanced Drivers).
If required, you can also use the Promote Scanning pick action to temporarily increase the rate at which ClearSCADA scans an outstation for data.
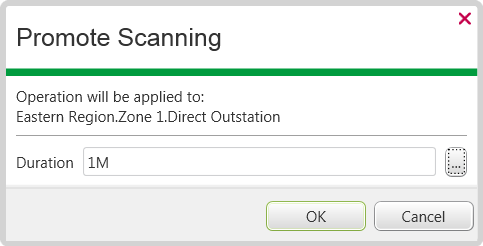
Select the Promote Scanning pick action to display the Promote Scanning window.

In the Duration field, specify the period for which the promotion is to last. Enter the duration in the OPC Time Format—for example, 1M (for one minute). Once this interval elapses, ClearSCADA reverts to scanning the outstation at its usual rate.
The Scanning status attribute indicates if scanning is promoted on an outstation.