ATTENTION: This topic relates to the deprecated Original WebX client that is supported by this and previous versions of ClearSCADA. For information about the WebX client that is supported by ClearSCADA 2015 R1 onwards, for which the web server is hosted using IIS, click here.
To run a WebX client:
- Either:
- Select the Start button.

The Windows Start menu is displayed.
- Select the All Programs option.
- Select the Internet Explorer option.
Or:
- Double-click on the Internet Explorer desktop shortcut

Internet Explorer is displayed.
- Select the Start button.
- Enter the address for your ClearSCADA server in the Address field, in one of these formats:
http://<name_of_server>
http://<name_of_server>:<port_number>
https://<name_of_server>
https://<name_of_server>:<port_number>
Where <name_of_server> is the node name of your web server (you may also use its IP address), and <port_number> is the port used by the server. Use the 'https' address if your server uses secure http. If the web server is configured to use the default port for its protocol (80 for http, 443 for https), omit the port number.Your system administrator will be able to provide you with this information.
- Press the Enter key.
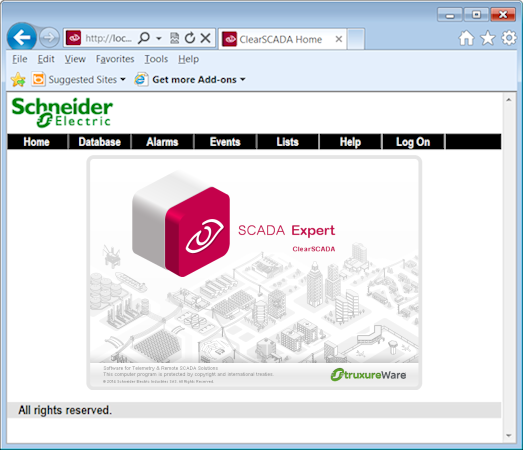
Internet Explorer displays your WebX client home page.
A Default View, such as a custom Mimic, is displayed instead of the above image, if the Root Group on your system is assigned a Default View. Such a ‘file object’ might, for example, comprise an overview of your system. For more information, see Defining a Default View in the ClearSCADA Guide to Core Configuration.
To access ClearSCADA via WebX, you typically need to Log On to a WebX Client.