To create a View:
- Display the Mimic that contains the area to be included in the View. You need to display the Mimic in Design mode (see Displaying a Mimic).
- Use the magnification tools to zoom in on the area that is to be shown in the View (see Magnifying a Mimic (Zooming)).
- Select the Graphics tab on the ViewX ribbon.
- Select Views in the View command group.

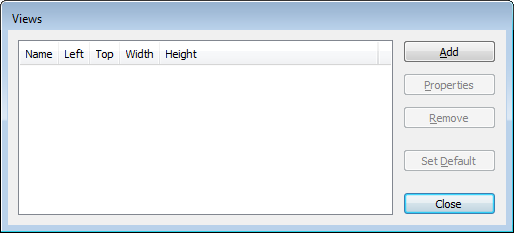
The Views window is displayed.

- Select the Add button to add a new View to the list. The View is selected automatically, ready for you to define its name. The View already has the X, Y, W, and H settings (X and Y coordinates for the section of the Mimic and width and height settings for the size of the View) for the area of the Mimic that you magnified in step 2.
- Enter a suitable name for the View, then press the Enter key or select another part of the interface to confirm the selection.
- Select the Close button.
- Repeat this procedure for each View that you require.
You can change the View settings by using the Edit feature (see Editing a View).
Only users with the Configure permission can create Views.