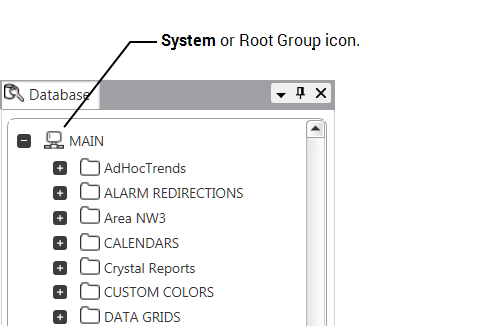
Each ClearSCADA system (database) is represented by a System or Root Group icon in the Database Bar’s tree-structure.

On ViewX clients that provide access to Multiple Databases, a separate System or Root Group is displayed for each database.
To configure the properties of the System or Root Group:
- Display the Database Bar (see Display an Explorer Bar).
- Right-click on the system in the Database Bar.
A context-sensitive menu is displayed. - Select the Edit Properties option.
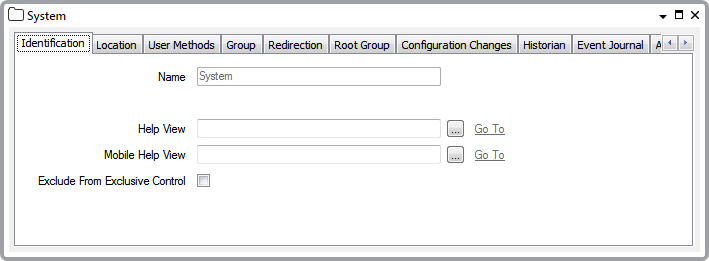
The Root Group Form is displayed.
- Use the Identification tab to optionally Specify a Help View and whether to exclude the whole system from exclusive control (see Specify Whether to Exclude a Group or Database Item from Exclusive Control).
-
Use the Location tab to specify the item's geographical coordinates. (You need only configure the properties on this tab if your system uses ClearSCADA's Geographical Location features.)
- Use the User Methods tab to configure any custom pick actions that are required for the system (see Using the User Methods Tab to Define Custom Actions).
- Use the Group tab to optionally Define an Alarm View and specify whether the server is to Request Confirmation Before Disabling or Enabling Alarms.
Also use the Group tab for optionally Defining a Default View.
- Use the Redirection tab to configure any alarm redirections for the system (see Configure Alarm Redirections for an Item or Group in the ClearSCADA Guide to Alarm Redirection). These redirections apply to any alarms that are raised on the system, and so can be used to provide an additional alarm redirection cascade to alarm redirections for individual groups or items.
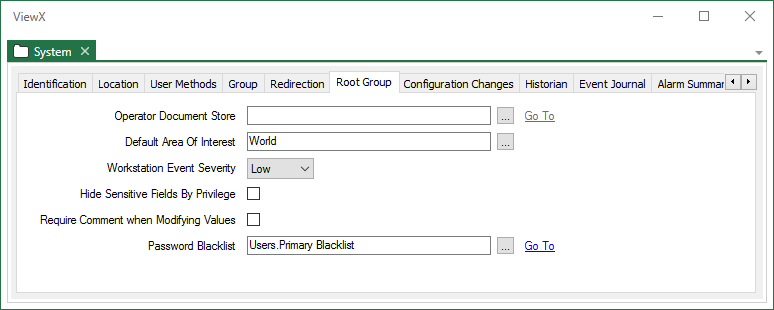
- Use the Root Group tab to:

- Specify the Global Operator Document Store for your System
- Specify the Default Area of Interest for your System
- Specify the Workstation Event Severity Level for Alarms and Events on your System
- Specify Whether Access to Sensitive Data is Restricted by Privilege
- Specify Whether a Comment and Quality are Mandatory when Modifying Values on a Historic Trend
- Select the active Password Blacklist dictionary.
- Use the Configuration Changes tab to define the maximum number of records per hour that can be recorded for configuration changes before ClearSCADA raises an alarm. Also use the tab to define the severity of the alarm, (see Define the Acceptable Number of Configuration Changes Records).
The settings on the tab are only used if Configuration Changes Auditing is enabled (see Configuration Changes Auditing).
- Use the Historian tab to define the maximum number of records per week, that can be recorded for historic data before ClearSCADA raises an alarm. Also use the tab to define the severity of the alarm, (see Define the Acceptable Number of Historic Data Records).
The settings on this tab are only used if Historic Data is enabled (see Historic Data Storage Settings).
- Use the Event Journal tab to define the maximum number of records per hour, that can be recorded for events before ClearSCADA raises an alarm. Also use the tab to define the severity of the alarm, (see Define the Acceptable Number of Event Journal Records) in this guide and see Event Journal Storage Settings in the ClearSCADA Guide to Server Administration).
- Use the Alarm Summary tab to define the maximum number of records per hour, that can be recorded for Alarm Summary entries before ClearSCADA raises an alarm. Also use the tab to define the severity of the alarm, (see Define the Acceptable Number of Alarm Summary Records) in this guide and see Alarm Summary Storage Settings).
- Use the ASB Framework tab to enable or disable the ASB (ArchestrA Service Bus) Framework. If the link to ASB Framework services is enabled, you also use this tab to specify a a ClearSCADA user account and Windows Security Name that are associated with these services, see Enable or Disable ASB Framework Services.
- Use the EcoStruxure Web Services tab to enable or disable EcoStruxure Web Services (EWS). If EWS is enabled, you can also use this tab to specify an EWS user account, Enable or Disable EcoStruxure Web Services
- Use the Guest User tab to configure the properties of the Guest User account. This is the built-in user account that is used whenever a user accesses the system without logging on.
The properties on this tab apply to the built-in user account that is used when a user accesses ClearSCADA via ViewX or a third-party application, without logging onto the system.
The Areas of Interest section of the tab is only available for use if the Area of Interest feature is enabled on your system. If enabled, you can use each Area n field to Assign a Different Area of Interest to a User.
For information on configuring other properties on the Guest User tab, see Define the Global Settings for All Guest and Web User Accounts.
In addition to the system-wide Guest User properties that you configure on the Root Group, you also need to specify the ViewX properties of the Guest User (see Define the Client Specific Settings for the Guest User).
- Use the Geographic Information tab to specify the default map that ClearSCADA should use for ad-hoc mapping. For example, to display the location of a database item. For more information, see Specify the Default Map.
- Use the Dictionary tab to define which type of Translation Dictionary you want to use in ClearSCADA. There are two types of Dictionary you can implement: A File Translation Dictionary or an In-Database Translation Dictionary. For more about these types, see Introduction to the ClearSCADA Translation Dictionary. For more about specifying which type of Dictionary you want to use,see Define the Translation Dictionary Type.
- Save the configuration.