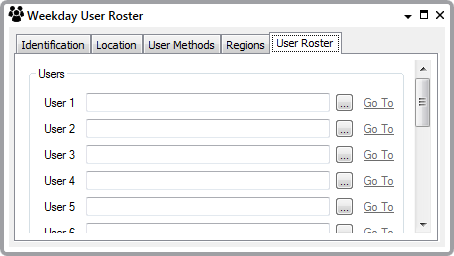
You need to use the User Roster Form to configure the properties of a User Roster. To configure the properties:
- Display the User Roster Form.
- Several of the tabs on the Form are common to many database items:
- Identification—Use to optionally define a Help View and to indicate whether the item is to be excluded from any Exclusive Control activity (see Defining Identification Details).
- Location—Use to specify the item's geographical coordinates. (You need only configure the properties on this tab if your system uses ClearSCADA's Geographical Location features.)
- User Methods—Use to define any custom pick actions (‘methods’) for the item (see Using the User Methods Tab to Define Custom Actions).
- Use the Regions tab to Assign Regions of Responsibility to the users in the User Roster. (You need only configure the properties on this tab if your system uses ClearSCADA's Geographical Location features.)
- Use the User fields on the User Roster tab to specify the Users or User Groups to which you want to redirect alarms.
You can specify up to 16 Users or User Groups per User Roster. Alarms will be directed to whichever User or User Group is set as the ‘Duty User’ at the time that an alarm redirection is triggered (see Specify the Duty User). By default, when you add a new User Roster to the database, no 'Duty User' is selected, so you have to specify the Duty User that you require.
Use the browse button next to each User field to display a Reference browse window. Select the required User or User Group from the window.

- Save the configuration.